12 panels from Adafruit
300W (overkill) PS (pigtail separate)
Raspberry Pi 4B
LED Controller from Elektor with 3 output strings. The best part about this board is the jumpers are old school pins, no soldering required, but shipping is high from EU
Extruded Rods from eBay sellers, 2020 dimension
A whole pile of brackets meant for this 2020, you have choices but it’s an expensive frame.
Magnet feet from Adafruit &
Thin teel bars from Lowe’s bolted on the back
First, I cloned the main repository and messed around and played some cool videos of retro games that I pre-recorded at this resolution.
Then I found the gear boy repository which used this library to send the frame buffer from the game Boy emulator to The Matrix which looks phenomenal.
This didn’t work at first because sdl inputs were used and the value was set to zero, which I did some research on in order to change to the correct value to fix the inputs, because they were going insane when I first tried to launch this. You will need to use the joystick because I don’t know how to program the actual hat/dpad, but the Super Nintendo controller clone that I am using happens to pick up the d-pad as an axis so I lucked out there.
That fixed the input issue, and then I tweaked out some settings with arguments from the original library to make it run without any flicker and tone down the brightness because it was just too bright to stare at.
This is the Author who made it all happen, all I did was fix inputs.
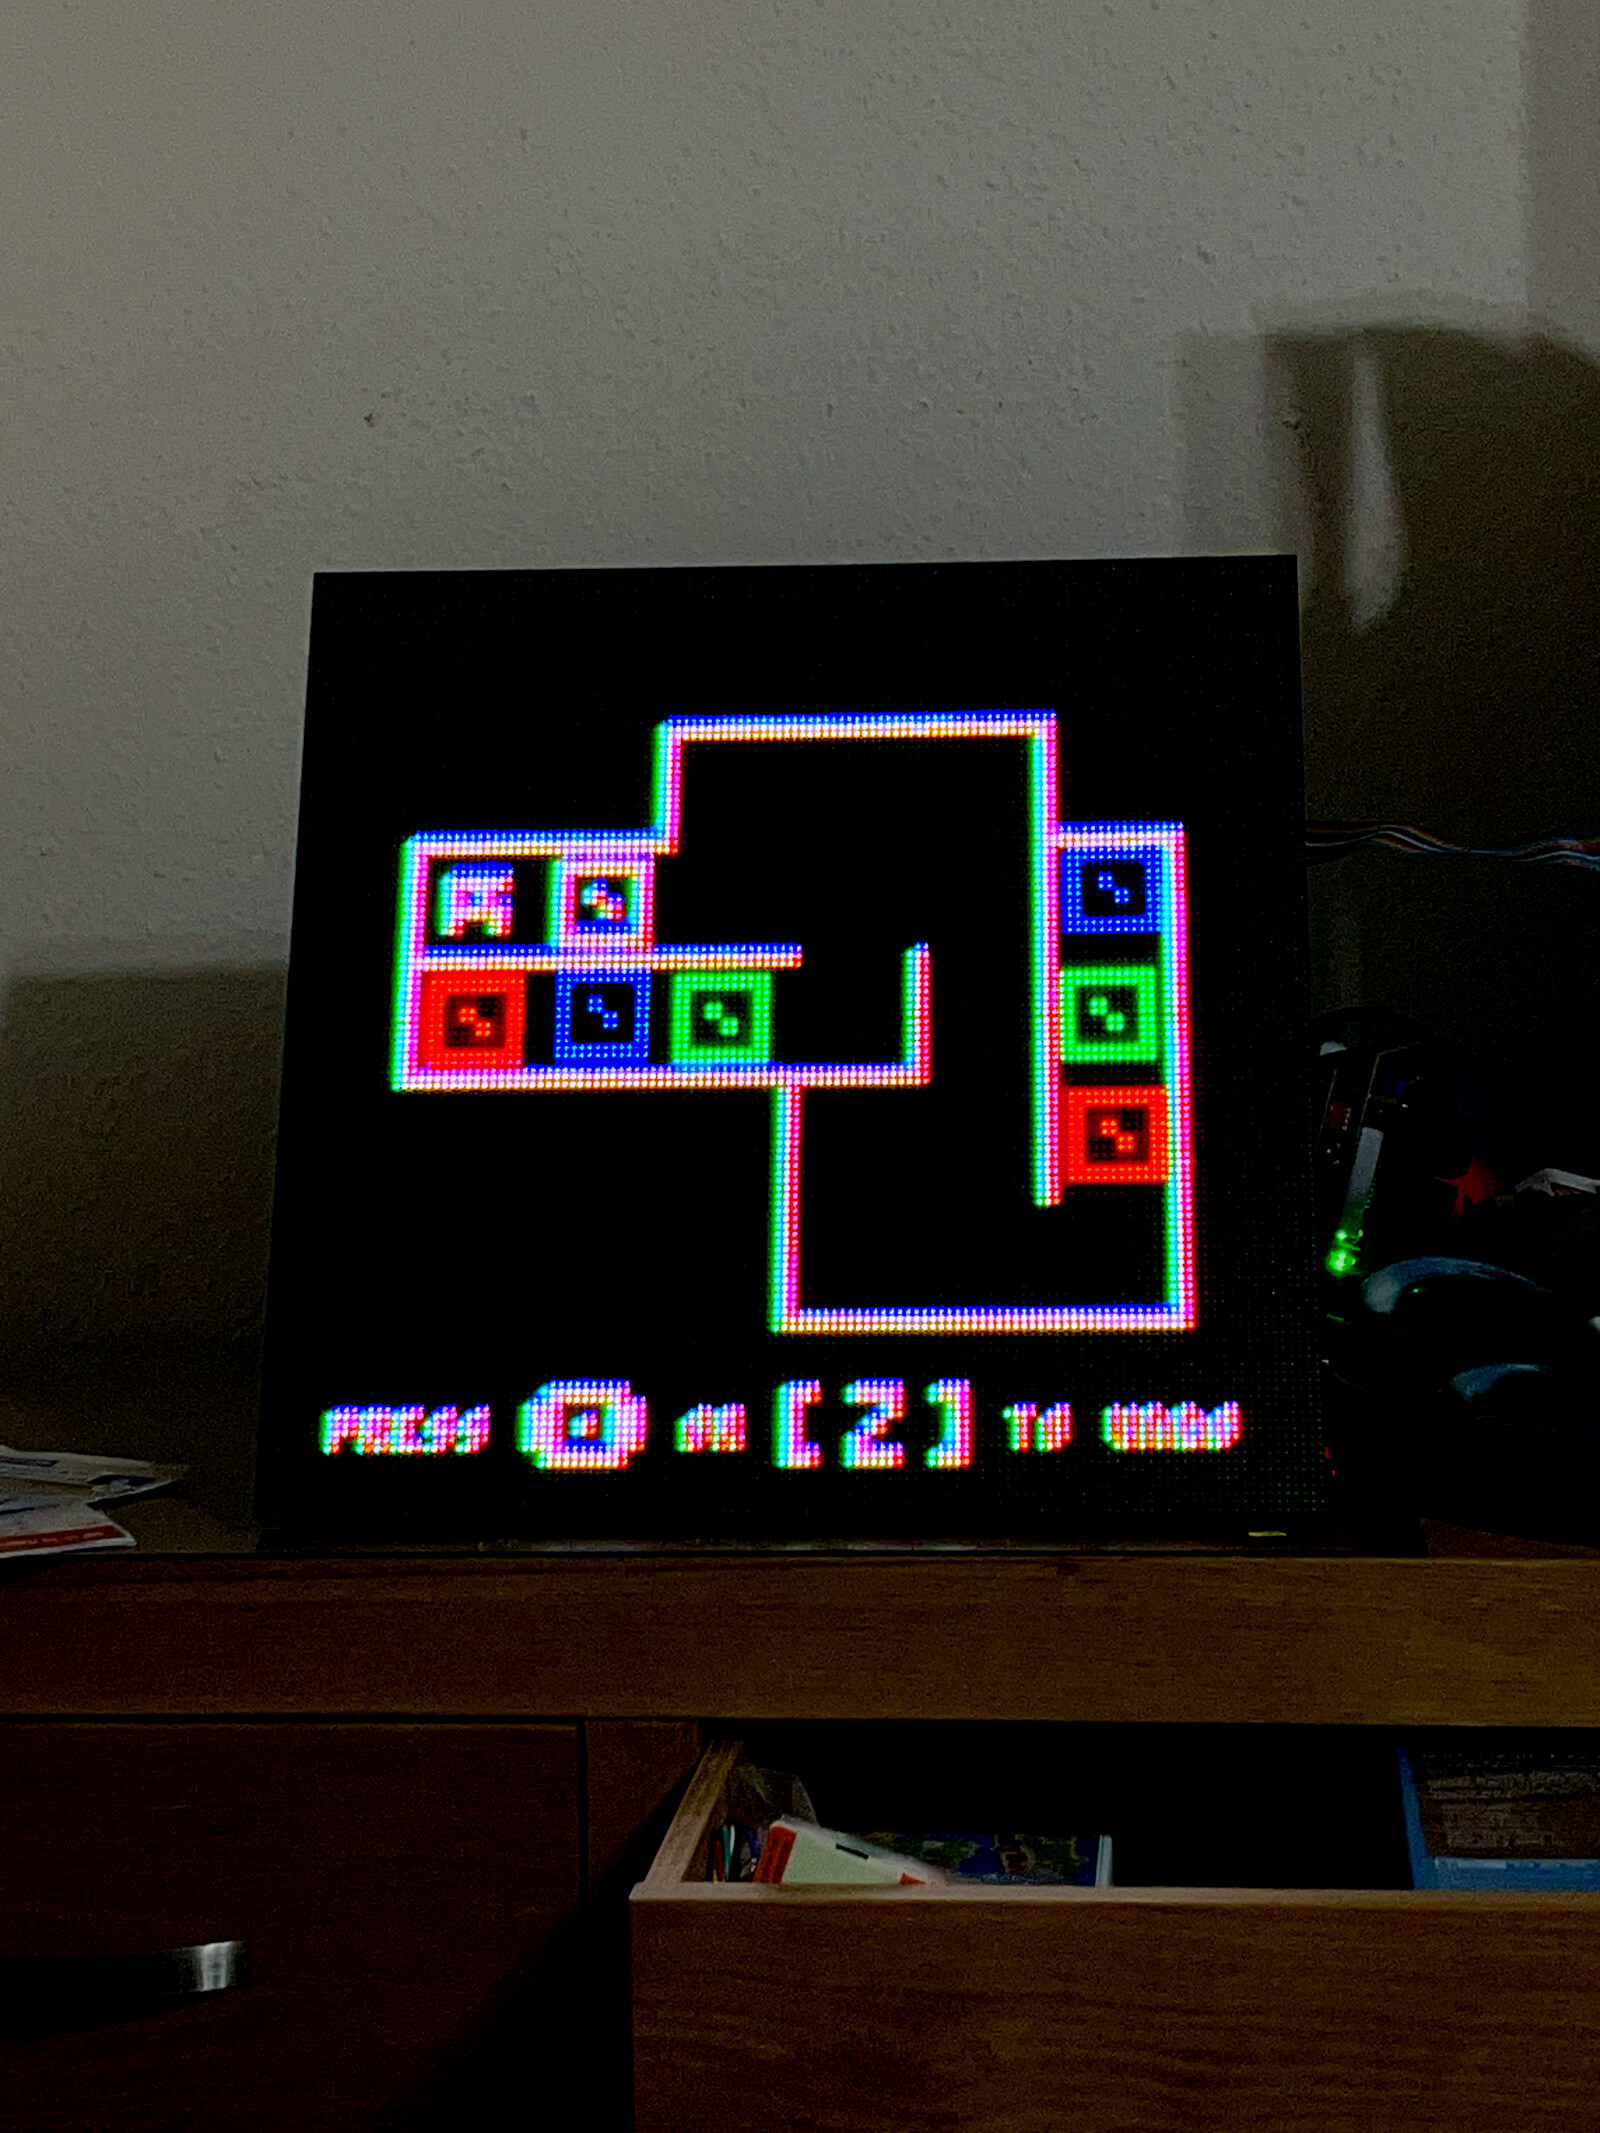
This is just a screenshot of the image viewer showing a super Metroid screenshot. I’m guessing it’s probably asking too much of the pi’s processor to run this emulator as well as the Matrix, but maybe we could get a game Boy advance one going. Whatever uses the least resources
Nice.
My biggest display is actually 384x256 built 5 years ago, which is about as big as you can reasonably go with 3 channels due to refresh rate issues.
Here are the best couple I’ve managed and I cheated by adjusting the colour levels. It’s quite depressing to see how photographs crush the colours. Just can’t get close to representing how nice these look with your own eyes.
P.S: I believe I came across your posts on Reddit a couple of days ago but the pics were deleted. At the time I was curious enough to check the google image cache and I recognise the Super Metroid pic. I’ve been looking at retro game LED matrix setups recently. So much potential!
Here’s the latest thing that blew me away on Adafruit. It’s programmed for the pi 5 but it’s the pico8 software running on a 128x128 display. I’d like to try and get this running on the pi 4 because it allows for pwm which isn’t in the pi5 yet, I think they’re going with a model that doesn’t use sudo to run the command, which is cool, but the pi 4 seem to get a better refresh. I wonder if you could somehow take control of that without the use of root
I like to point out that the “LED Controller” from Elektor is actually from JOY-IT. It’s the same adapter that I mentioned two days ago in my first post here. Reichelt and Elektor are just distributors.
And I happen to have several other electronic boards from Joy-It - their stuff is decent.